Hanging Wallpaper – Part 4
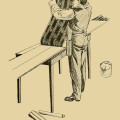
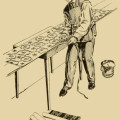
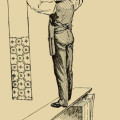
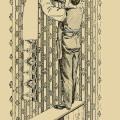
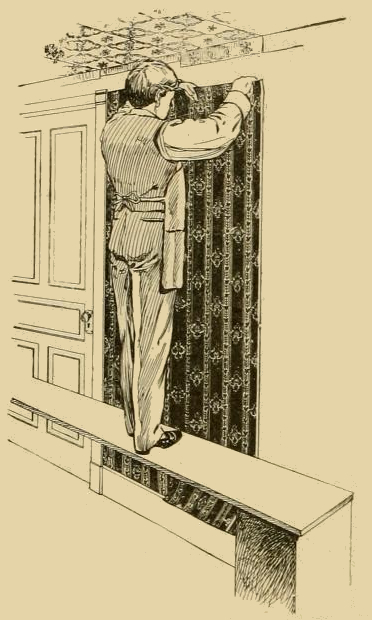 This vintage illustration depicts the fourth step in a five part tutorial on hanging wallpaper in an entire room. In previous pictures, we were shown how to create a work area, trim the wallpaper and hang the wallpaper on the ceiling. This drawing shows the proper technique for hanging side wall paper. All of them were provided by Sears, Roebuck and Company in their 1906 wallpaper catalog.
Beyond the obvious of ensuring the pattern matches from piece to piece, hanging side wall paper entails keeping 4-6 inches, depending upon the pattern repeat, extra. You might have to lose as mush as 8 or 10 inches of paper to make the match. Save the short pieces for doorways and windows.
This public domain drawing shows our homeowner hanging side wall paper. They recommended starting the first piece next to a door to take advantage of the straight edge. My resident wallpaper expert strongly disagrees with this technique and believes when hanging paper on a wall, you should start in a corner.

